Complete Whatsminer M30S++ Installation Guide for Home Mining Operations
Setting up your first ASIC miner at home feels like opening a high-performance engine for the first time. The Whatsminer M30S++ sits in front of you, a compact powerhouse ready to generate Bitcoin, but only if you install it correctly. This guide walks you through every step, from unboxing to your first accepted share.
The Whatsminer M30S++ delivers 112 TH/s at 3472W, requiring 240V power and proper cooling. Installation takes 30-45 minutes with the right preparation: dedicated circuit, Ethernet connection, and adequate ventilation. Configure via web interface, join a mining pool, and monitor temperature to ensure stable operation and maximize profitability from day one.
Understanding your M30S++ specifications
The M30S++ operates at 112 terahashes per second with a power consumption of 3472 watts. This means you need a dedicated 240-volt circuit rated for at least 20 amps.
The unit measures 370mm x 195mm x 290mm and weighs approximately 13.2 kilograms. Three fans push air through the hashboards, generating 75 decibels of noise. That’s roughly equivalent to a vacuum cleaner running constantly.
Your miner operates best between 5°C and 35°C ambient temperature. Humidity should stay below 65% to prevent condensation on circuit boards.
The M30S++ uses the SHA-256 algorithm exclusively for Bitcoin mining. You cannot mine Ethereum or other altcoins with this device.
Pre-installation checklist
Before touching the miner, verify these requirements:
- 240V electrical outlet with proper grounding
- 20-amp dedicated circuit breaker
- Ethernet cable (Cat5e or better)
- Router with available port
- Ventilation path for hot exhaust air
- Stable surface that supports 15+ kilograms
- Mining pool account credentials
- Bitcoin wallet address
Most home installations fail because of inadequate power supply. A standard 120V outlet cannot handle this miner’s power draw. You’ll trip breakers repeatedly and risk electrical fire.
Contact a licensed electrician if you lack a 240V circuit. The installation cost ranges from $200 to $500 depending on your electrical panel’s location and capacity.
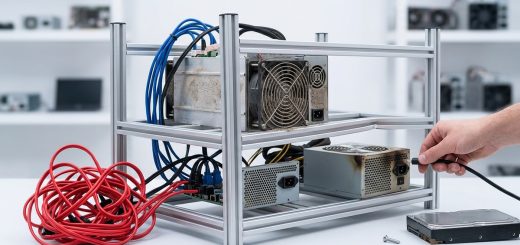
Physical setup and power connection
Position your miner where exhaust air can escape freely. The rear fan pushes hot air backward, so place the unit at least 30 centimeters from any wall.
Never stack miners without proper spacing. Heat buildup kills hashboards faster than any other factor.
- Remove the miner from its packaging and inspect for shipping damage
- Check that all three fans spin freely by hand
- Locate the power supply unit connections on the miner’s side
- Connect the PSU cables to the corresponding ports (they only fit one way)
- Plug the power cord into your 240V outlet
- Wait for the fans to spin up (this takes 5-10 seconds)
The fans will run at full speed initially. This is normal. They’ll adjust based on temperature once the miner starts hashing.
Network configuration and initial access
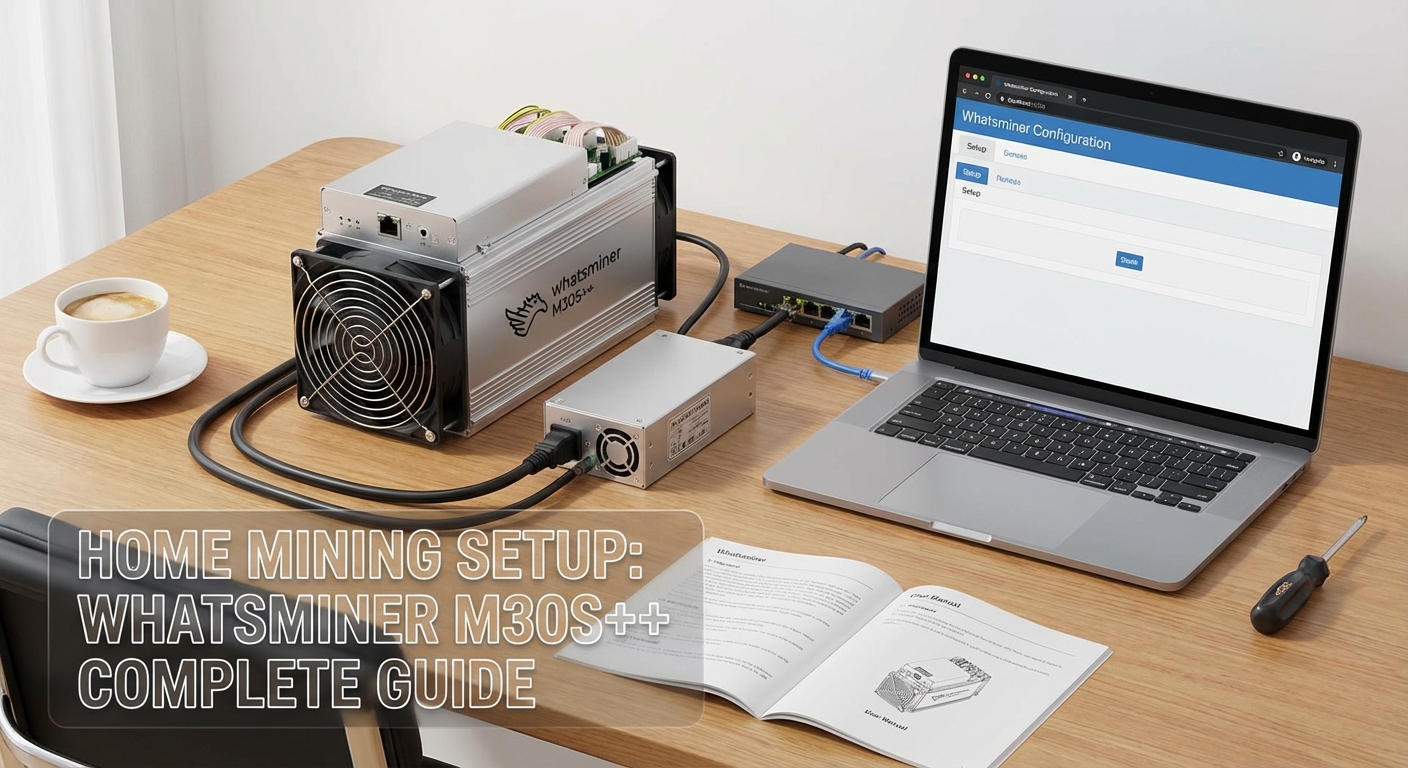
Connect an Ethernet cable from your router to the miner’s network port. The M30S++ does not support WiFi. Wired connections provide stable communication with mining pools.
Your router assigns an IP address automatically via DHCP. Find this address through your router’s admin panel or use a network scanning tool.
Access your router by typing its IP address into a web browser. Common addresses include 192.168.1.1 or 192.168.0.1. Check your router’s label for the exact address.
Look for a connected devices list or DHCP client table. The M30S++ appears as “WhatsMiner” or shows its MAC address. Note the assigned IP address.
Type that IP address into your browser’s address bar. The miner’s web interface loads, showing the login screen.
Default credentials:
– Username: admin
– Password: admin
Change these immediately after first login. Using default credentials leaves your miner vulnerable to unauthorized access.
Mining pool configuration
The web interface displays several tabs. Click “Miner Configuration” or “Pool Settings” depending on firmware version.
You need three pieces of information from your mining pool:
- Pool URL (stratum+tcp://pooladdress:port)
- Worker name (usually your username.workername)
- Worker password (often just “x” or “123”)
Popular pools for home miners include Slush Pool, F2Pool, and Antpool. Each provides different fee structures and payout methods.
Enter your first pool’s information in Pool 1. Add backup pools in Pool 2 and Pool 3. The miner switches automatically if the primary pool becomes unreachable.
Always configure at least two pools. Network issues happen, and you don’t want your miner sitting idle because one pool went offline. Redundancy keeps your hashrate working.
Click “Save & Apply” after entering pool information. The miner restarts and begins connecting to your specified pool.
Monitoring and verification
Return to the main dashboard after the restart completes. You should see hashrate building within 2-3 minutes.
The M30S++ takes approximately 10 minutes to reach full operating speed. Initial hashrate appears lower as hashboards warm up and calibrate.
Check these critical metrics:
| Metric | Target Range | Action if Outside Range |
|---|---|---|
| Hashrate | 108-114 TH/s | Check pool connection and hashboard temps |
| Temperature | 60-80°C | Improve ventilation or reduce ambient temp |
| Fan Speed | 3000-6000 RPM | Clean fans or check for obstructions |
| Hardware Errors | Below 0.1% | Acceptable; above 1% indicates problems |
| Pool Status | Connected | Verify pool URL and credentials |
Temperature readings appear for each hashboard. All three should stay within 5°C of each other. Large temperature differences indicate airflow problems or failing fans.
Optimization and fine-tuning
The M30S++ ships with default power settings that balance performance and efficiency. You can adjust these through the “Advanced Settings” menu.
Power modes typically include:
- High Performance (higher hashrate, more power)
- Normal (factory default)
- Low Power (reduced hashrate, better efficiency)
Switching to Low Power mode drops power consumption by 10-15% but also reduces hashrate proportionally. Calculate whether the electricity savings justify the hashrate loss based on your power costs.
Most home miners stick with Normal mode unless electricity rates exceed $0.12 per kWh.
Noise management strategies
At 75 decibels, the M30S++ sounds like a constant vacuum cleaner. This noise level becomes unbearable in living spaces.
Common solutions include:
- Basement or garage installation away from bedrooms
- Sound-dampening enclosures (reduces noise by 15-20 decibels)
- Dedicated mining room with acoustic panels
- Outdoor installation in weatherproof housing
Never restrict airflow while attempting noise reduction. Overheating damages hashboards permanently and voids warranties.
Some miners build insulated boxes with proper intake and exhaust ducting. This approach works but requires careful design to maintain proper temperatures.
Electrical safety and efficiency
Running a 3.5kW device 24/7 adds approximately 2500 kWh to your monthly electricity consumption. At $0.10 per kWh, that’s $250 in monthly power costs.
Calculate your break-even point before mining:
- Check current Bitcoin network difficulty
- Calculate expected monthly BTC earnings at 112 TH/s
- Multiply BTC earnings by current Bitcoin price
- Subtract electricity costs
- Factor in pool fees (typically 1-3%)
Profitability fluctuates with Bitcoin price and network difficulty. What’s profitable today might lose money next month.
Install a dedicated circuit breaker for your miner. Never run multiple high-power devices on the same circuit. Overloaded circuits cause fires.
Consider a power meter to monitor actual consumption. Some PSUs run less efficiently than advertised, consuming 5-10% more power than specifications suggest.
Firmware updates and maintenance
MicroBT releases firmware updates periodically. These updates fix bugs, improve efficiency, and occasionally boost hashrate.
Check the official MicroBT website monthly for new firmware versions. Download only from official sources. Third-party firmware exists but voids warranties and risks bricking your miner.
Update process:
- Download the firmware file to your computer
- Access the miner’s web interface
- Navigate to “System” or “Upgrade” section
- Upload the firmware file
- Wait 5-10 minutes for installation
- Do not power off during updates
The miner reboots automatically after firmware installation. Hashrate returns to normal within 10 minutes.
Clean dust filters monthly. Dust accumulation restricts airflow and raises temperatures. Remove the miner’s side panels and use compressed air to blow out accumulated dust.
Inspect fan bearings every three months. Failing fans make grinding noises before complete failure. Replace fans proactively rather than waiting for failure.
Troubleshooting common issues
Miner won’t power on: Check that both PSU cables connect firmly. Verify the outlet provides 240V using a multimeter. Test the outlet with another device.
No hashrate showing: Confirm pool configuration matches your pool’s documentation exactly. Check that your worker appears on the pool’s website. Verify Ethernet cable connection.
Overheating warnings: Improve room ventilation. Clean dust from fans and heatsinks. Reduce ambient temperature below 30°C. Check that all three fans spin freely.
Frequent disconnections: Test Ethernet cable quality. Replace with Cat6 cable if using old Cat5. Check router stability. Assign a static IP address to prevent DHCP conflicts.
Lower than expected hashrate: Allow 15 minutes for full warm-up. Check that all hashboards show similar temperatures. Verify firmware is current version. Contact support if hashrate stays below 108 TH/s.
Pool selection and payment methods
Different pools offer varying fee structures and payout frequencies. Smaller pools provide more variable payouts but lower fees. Larger pools deliver consistent daily payouts with slightly higher fees.
Payment methods include:
- PPS (Pay Per Share): Guaranteed payment for each share submitted
- PPLNS (Pay Per Last N Shares): Payment based on shares when pool finds a block
- FPPS (Full Pay Per Share): PPS plus transaction fees
PPS provides predictable income ideal for home miners. You receive payment regardless of whether the pool finds blocks.
PPLNS can pay more during lucky streaks but less during unlucky periods. This variance matters less for large operations but significantly affects home miners.
Minimum payout thresholds vary by pool. Some require 0.001 BTC minimum, others allow daily payouts regardless of amount. Higher thresholds mean waiting weeks for first payment.
Long-term operation considerations
ASIC miners depreciate rapidly as newer, more efficient models release. The M30S++ remains competitive in 2024 but faces pressure from newer 5nm chip miners.
Plan for hardware replacement every 18-24 months in competitive mining environments. Older miners become unprofitable as difficulty increases and more efficient hardware enters the network.
Track these metrics weekly:
- Average daily BTC earnings
- Electricity cost percentage of revenue
- Hardware error rates
- Temperature trends
When electricity costs exceed 80% of revenue, mining becomes unsustainable. Either electricity rates dropped, Bitcoin price fell, or difficulty increased beyond your miner’s profitability threshold.
Some miners switch to alternative coins during low-profitability periods, but the M30S++ mines Bitcoin exclusively. Your only option is powering down until conditions improve.
Getting your first shares accepted
After configuration, watch the web interface for “Accepted Shares” counter to increment. This confirms your miner communicates successfully with the pool and contributes valid work.
Your pool’s website shows worker statistics within 5-10 minutes. Look for your worker name in the active workers list. Hashrate appears after the pool receives enough shares to calculate average speed.
First payout timing depends on pool rules and your hashrate. At 112 TH/s on a large pool, expect 0.0001-0.0002 BTC daily before fees and difficulty adjustments.
Mining profitability calculators provide estimates, but real-world results vary based on pool luck, network difficulty changes, and hardware efficiency variations.
The M30S++ runs reliably for months with minimal intervention once properly configured. Check temperatures weekly and clean dust monthly. Beyond that, the miner operates autonomously, generating Bitcoin 24/7.
Your mining journey starts the moment those first shares get accepted. The infrastructure you built supports continuous operation, turning electricity into cryptocurrency through computational work. Monitor performance regularly, maintain proper cooling, and adjust strategies as network conditions change.