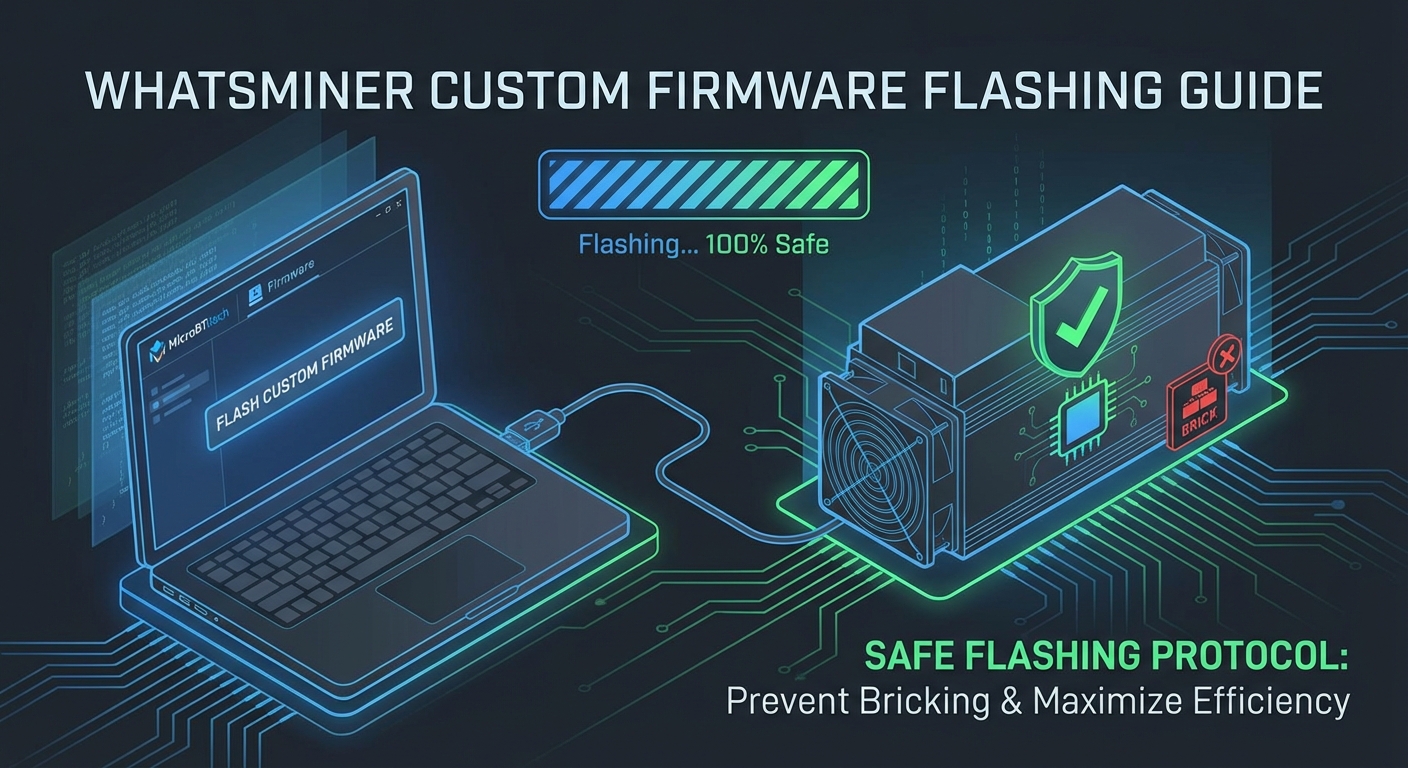
How to Flash Custom Firmware on Your Whatsminer Without Bricking It
Flashing custom firmware on your Whatsminer can boost hashrate, reduce power consumption, and give you control over tuning parameters that stock firmware locks away. But one wrong move during the process can turn your expensive ASIC into an expensive paperweight. Thousands of miners have bricked their units by skipping critical steps, using incompatible firmware files, or rushing through the installation without proper backups.
Successfully flashing Whatsminer custom firmware requires verifying model compatibility, creating complete backups of your stock firmware, following precise installation steps, and knowing how to recover from failed flashes. This guide walks you through the entire process with safety checks at every stage, helping you optimize mining performance while protecting your hardware investment from permanent damage.
Understanding What Custom Firmware Actually Does
Stock Whatsminer firmware ships with conservative settings that prioritize stability over performance. MicroBT configures these defaults to work across different power infrastructures, cooling setups, and operating conditions.
Custom firmware removes those guardrails. You gain access to frequency adjustments, voltage controls, and fan curve modifications that can increase your hashrate by 10-20% or drop your power consumption by similar margins.
But that flexibility comes with responsibility. Custom firmware developers optimize for different goals. Some prioritize maximum hashrate regardless of efficiency. Others focus on undervoltage operation to reduce electricity costs. A few specialize in thermal management for immersion cooling or hot climate operations.
The firmware you choose depends on your specific mining setup, electricity costs, and risk tolerance.
Checking Compatibility Before You Start
Not all custom firmware works with every Whatsminer model. The M30S++ requires different firmware than the M50S, and even minor variations within the same series can cause compatibility issues.
Start by identifying your exact model number. Log into your miner’s web interface and check the system information page. You need the complete model designation, not just “M30” or “M50.”
Next, verify your current firmware version. This information appears on the same system page. Write down both the model number and firmware version because you’ll need them for recovery if something goes wrong.
Check the custom firmware developer’s compatibility list. Reputable firmware providers maintain detailed documentation showing which models and stock firmware versions work with their releases.
Some red flags to watch for:
- Firmware claiming to work with “all Whatsminer models”
- No version history or changelog available
- Missing MD5 or SHA256 checksums for file verification
- Developer with no presence in mining forums or communities
- Firmware files hosted on random file-sharing sites instead of official repositories
Creating a Complete Backup Strategy
Your backup is your insurance policy. Before touching any firmware settings, you need multiple copies of your current configuration and firmware.
Downloading Your Stock Firmware
Log into the miner’s web interface and navigate to the firmware section. Most Whatsminer models let you download the currently running firmware as a file.
Save this file to at least two different locations. One copy on your local computer and another on cloud storage or a separate USB drive.
Verify the downloaded file isn’t corrupted by checking its file size against what the interface reports. A partial download will fail during restoration and leave you stuck.
Saving Configuration Settings
Take screenshots of every settings page in your miner’s interface. Capture pool configurations, network settings, fan speeds, and any custom parameters you’ve adjusted.
Better yet, export the configuration file if your model supports it. Some Whatsminer firmware versions include a backup/restore function that saves all settings to a downloadable file.
Write down your pool URLs, worker names, and passwords separately. You’ll need to re-enter these if you have to factory reset the device.
Preparing Your Network and Tools
A failed firmware flash often happens because of network interruptions during the upload process. Your computer loses connection to the miner mid-transfer, the file gets corrupted, and the miner won’t boot.
Connect your computer directly to the same network switch as the miner. Avoid WiFi connections or routes through multiple network devices.
Disable any power-saving features on your computer that might put the network adapter to sleep. A laptop going into sleep mode during a firmware upload will brick your miner.
Close unnecessary applications and browser tabs. You want maximum system resources available for the firmware transfer.
Have a second device ready with internet access. If something goes wrong, you’ll need to search for solutions without interrupting the recovery process on your primary computer.
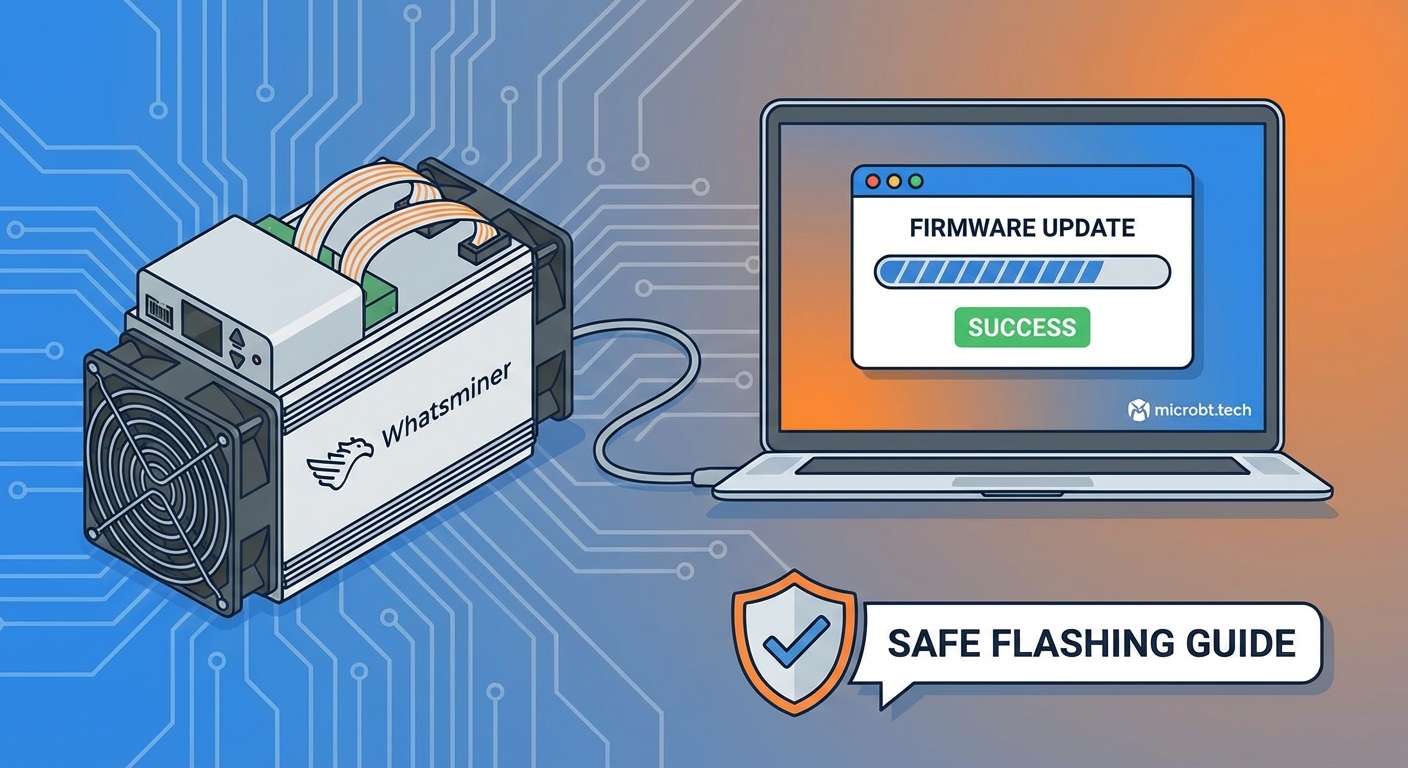
Step-by-Step Firmware Installation Process
Now that you’ve verified compatibility, created backups, and prepared your network, you can proceed with the actual firmware flash.
1. Download and Verify the Custom Firmware
Get the firmware file from the developer’s official source. Never use files from third-party mirrors or forum attachments unless you can verify their authenticity.
Check the file’s MD5 or SHA256 hash against the developer’s published checksum. This confirms the file wasn’t corrupted during download or tampered with.
On Windows, use the command:
certutil -hashfile firmware_file.tar.gz SHA256
On Linux or Mac:
shasum -a 256 firmware_file.tar.gz
The output must match exactly what the developer published. Even one character difference means the file is corrupted or modified.
2. Access the Firmware Upload Interface
Open your web browser and navigate to your miner’s IP address. Log in with your admin credentials.
Find the firmware upgrade section. On most Whatsminer models, this appears under System > Firmware or Upgrade.
Read any warnings the interface displays. Some models require specific procedures for downgrading firmware versions or switching between custom and stock firmware.
3. Upload the New Firmware File
Click the browse or choose file button and select your verified custom firmware file.
Before clicking upload or confirm, double-check you selected the correct file. Uploading the wrong firmware version is the fastest way to brick your device.
Start the upload and do not touch anything. Don’t refresh the page, don’t close the browser, don’t let your computer go to sleep.
The upload typically takes 2-5 minutes depending on file size and network speed. The interface will show a progress bar or percentage indicator.
4. Wait for the Automatic Reboot
After the upload completes, the miner automatically reboots to apply the new firmware. This process takes 3-10 minutes.
The web interface will become unreachable during this time. Your browser might show connection errors or timeout messages. This is normal.
Do not power cycle the miner during this reboot. Interrupting the firmware installation process will corrupt the system and require recovery procedures.
Watch the miner’s physical LED indicators if visible. Most models show specific blinking patterns during firmware updates.
5. Verify the Installation
Once the reboot completes, access the web interface again using the same IP address. If the IP changed, check your router’s DHCP lease table or use a network scanner to find the miner.
Log in and check the system information page. Verify the firmware version matches what you installed.
Check that all hash boards are detected and showing temperature readings. Missing hash boards after a firmware update often indicate a failed flash.
Review the system logs for any error messages. Custom firmware sometimes reports warnings about settings that need adjustment.
Common Installation Problems and Fixes
Even when you follow every step correctly, firmware installations can fail. Knowing how to recognize and fix common problems prevents panic and permanent damage.
| Problem | Cause | Solution |
|---|---|---|
| Upload stuck at 99% | Network timeout or corrupted file | Wait 15 minutes, then power cycle and retry with re-downloaded firmware |
| Miner won’t reboot after flash | Incompatible firmware version | Use SD card recovery method to restore stock firmware |
| Web interface unreachable | IP address changed or network misconfigured | Check router DHCP table or reset network settings via IP report button |
| Hash boards not detected | Firmware doesn’t support your hardware revision | Immediately reflash with stock firmware backup |
| Constant rebooting loop | Corrupted firmware installation | Enter recovery mode and flash via SD card |
Recovering from a Failed Flash
If your miner won’t boot properly after a firmware installation, you need the SD card recovery method.
Prepare a microSD card formatted as FAT32. Download the official MicroBT recovery firmware for your exact model from their support site.
Rename the recovery firmware file exactly as specified in the recovery instructions. The filename must match precisely or the miner won’t recognize it.
Power off the miner completely. Insert the SD card into the slot on the control board. The location varies by model but usually sits near the Ethernet port.
Power on the miner while holding the IP report button. Keep holding for 10-15 seconds until you see specific LED patterns indicating recovery mode.
The miner will automatically read the firmware from the SD card and reflash itself. This process takes 10-20 minutes and requires no network connection.
Configuring Your Newly Flashed Firmware
After successfully installing custom firmware, you need to configure it for your specific mining operation.
Start with conservative settings. Don’t immediately push frequency and voltage to maximum values. Custom firmware gives you enough rope to hang yourself with.
Re-enter your pool information. Most firmware flashes reset pool configurations to defaults, so you’ll need to input your URLs, worker names, and passwords again.
Adjust fan speeds based on your cooling setup. Stock firmware runs fans conservatively. Custom firmware often defaults to different curves that might be too aggressive or too passive for your environment.
Test stability before optimizing performance. Let the miner run for 24 hours at default custom firmware settings. Monitor for crashes, thermal throttling, or hardware errors.
Start tuning by adjusting one parameter at a time. Change frequency, run for 12 hours, check stability. Then adjust voltage, run another 12 hours, check again. Changing multiple settings simultaneously makes it impossible to identify which modification caused problems.
Monitoring Performance After Installation
Custom firmware unlocks new capabilities, but you need to verify those improvements actually materialize in your specific setup.
Track your pool-side hashrate over 24-hour periods. Local miner hashrate can fluctuate, but pool-side measurements show your actual earning power.
Monitor reject rates and hardware error counts. Pushing settings too aggressively increases these metrics, which reduces your effective hashrate even if the dashboard shows higher numbers.
Check power consumption at the wall using a power meter. Some custom firmware claims efficiency improvements that don’t appear in real-world measurements.
Watch operating temperatures across all hash boards. Uneven temperatures between boards might indicate cooling problems or firmware settings that don’t match your hardware configuration.
Document your baseline performance before making additional changes. You need reference points to evaluate whether tuning adjustments actually improve results.
Maintaining and Updating Custom Firmware
Custom firmware isn’t a set-it-and-forget-it modification. Developers release updates that fix bugs, improve performance, or add new features.
Subscribe to notifications from your firmware developer. Most maintain Discord servers, Telegram channels, or email lists announcing new releases.
Read changelogs before updating. Not every firmware update applies to your situation. Some releases target specific models or fix problems you haven’t experienced.
Treat firmware updates like fresh installations. Create new backups of your current configuration before updating. Verify file checksums. Follow the same careful process you used for the initial flash.
Test new firmware versions on one miner before updating your entire farm. If you run multiple units, use one as a test bed for updates before risking your whole operation.
Making Custom Firmware Work for Your Operation
Successfully flashing Whatsminer custom firmware opens up optimization possibilities that stock firmware keeps locked away. But the flash itself is just the starting point.
Your real work begins after installation. Finding the right balance between hashrate, power consumption, and hardware longevity requires patient testing and careful monitoring. The settings that work perfectly for someone else might not suit your electricity costs, cooling capacity, or risk tolerance.
Treat your firmware configuration as an ongoing project, not a one-time task. Mining conditions change with seasons, pool difficulty, and market conditions. The optimal settings you discover today might need adjustment next month.
Keep your stock firmware backups safe and accessible. You might need to revert for warranty service, troubleshooting, or simply because a custom firmware update introduces problems. Having that escape hatch ready gives you the freedom to experiment without fear.